 Recording audio on your computer can be helpful in many situations, such as making podcasts, creating voiceovers, joining online meetings, working on school projects, or recording music. It lets you capture clear sound, organize your ideas, and share your recordings easily. There are several ways to record audio, each with its own features. You can use built-in recorders, download software, or try online tools. In this article, we will teach you how to record audio on computer using different tools, helping you find the best method for your needs.
Method 1. Record Audio on Computer with QuickTime Player
QuickTime Player is a built-in media application on Mac with various features. One of these is its Audio Recorder feature. The tool allows you to record audio using your device's microphone or an external mic. Also, you can choose which microphone to use, including USB or headset mics, which is perfect for creating voice narration for your videos. In addition, QuickTime Player includes basic audio quality controls that let you adjust the volume before recording. However, the tool only records sound from your microphone, meaning you can’t record internal audio on PC. If you want to record system sound, you need an extra plugin like Soundflower, which requires additional setup and takes more time. See below how to use the tool for audio recording.
User Guide:
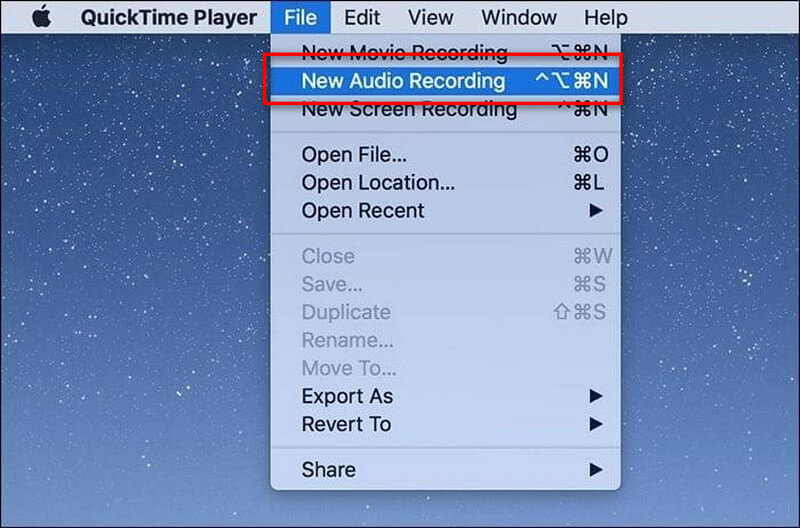
- Open QuickTime Player on your Mac. Then, click on the “File” tab in the top menu, then choose the “New Audio Recording” option. A small recording window will appear below on your screen.
- Next, click the drop-down menu beside the record button to select your microphone. You can choose your built-in mic or an external one, such as a USB headset. For recording internal audio, select the installed plugin.
- Once everything is set, click the red record button to start recording your voice or system sound. When you’re done, click the stop button and review your recording. Finally, save the file to your computer in M4A format.
Method 2. How to Record Audio on PC Online
For users who prefer using online tools, this AceThinker Free Online Audio Recorder is for you. The tool can record computer audio without any plugins, unlike QuickTime Player. This means you can easily record audio from platforms like YouTube, Spotify, SoundCloud, and more. Aside from that, the tool can also capture audio from the microphone with a clear voice. You can also record them both if you want, perfect for recording audio from streaming sites, podcasts, radio, and more. Though the tool is online, you need to install its launcher before using it. But don’t worry, the launcher is only a small file, and it takes a few seconds to set up. Once installed, you can start recording audio directly from your browser without any complicated steps. Moreover, the tool is free and has no limit on the length of audio recordings. See the guide below.
Step 1 Install the Launcher
Open a web browser and search for AceThinker Free Online Audio Recorder. On the main page, hit the “Start” button and click the “Download Launcher" to get the file. Next, locate the file and start the installation process. Afterward, the tool will open automatically.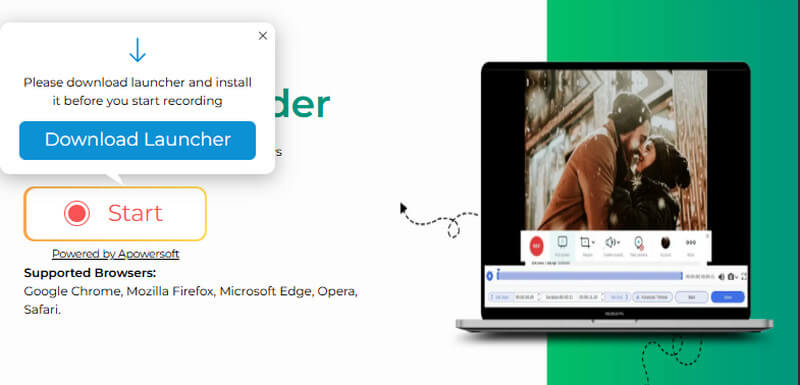
Step 2 Choose Audio Source
From the tool’s interface, click the “Volume” icon and select the audio source you prefer. You can choose system sound only, microphone only, or both. Make sure your microphone is attached correctly.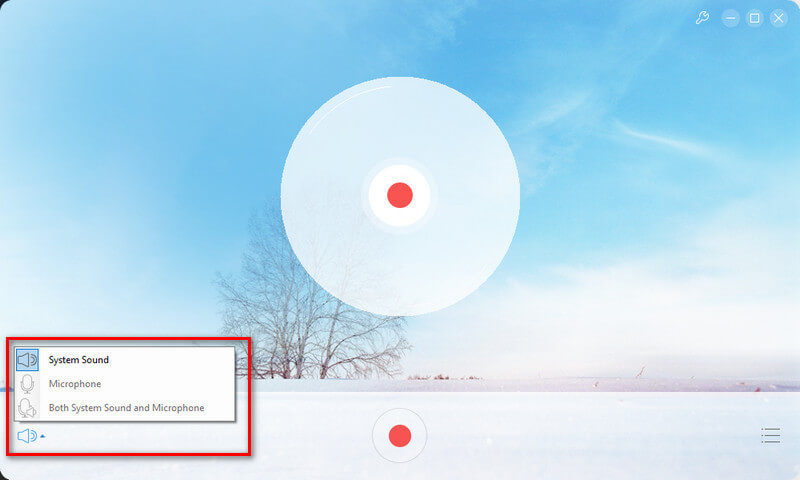
Step 3 Start to Record Sound on Computer
When you’re ready, click the record icon and start speaking or playing the music you want to record. You can also pause and resume if needed before finishing. To end the recording, click the stop icon in the launcher.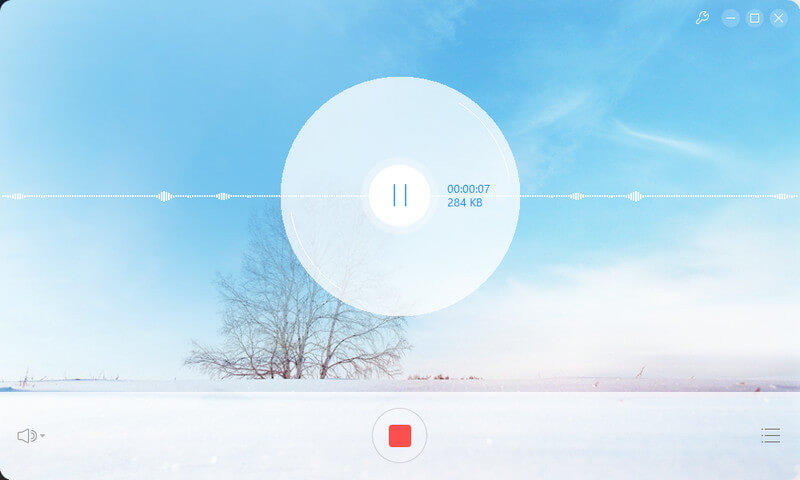
Step 4 Play the Recorded Audio
To play the recorded audio, tap the hamburger icon, then tap the play button for the recording. The audio will play within the tool using its built-in player. Finally, to locate the file, click the folder icon below to be directed to the designated folder.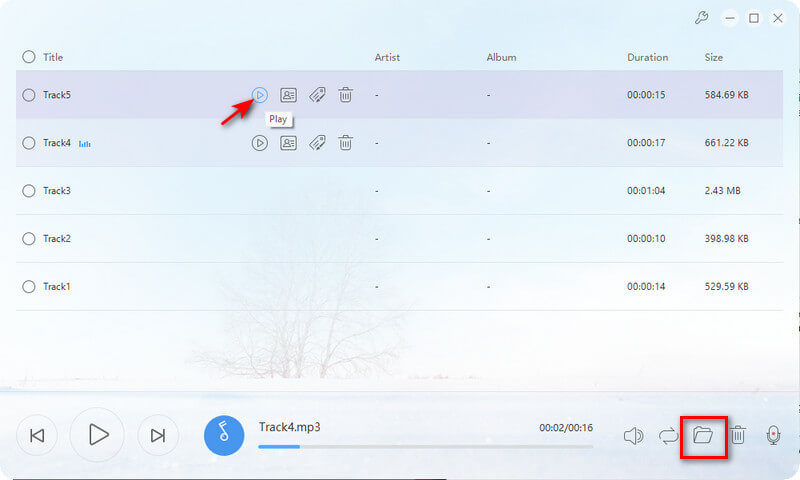
Method 3. Free Audio Recorder for Windows and Mac
If you are looking for a free audio recorder with advanced features, Audacity is a good choice. The tool is designed for audio recording with various advanced features. You can record from multiple sources, including the system, a microphone, or both, and even record browser audio when properly configured. Additionally, you can listen to your audio while recording to check quality and levels in real-time. Besides, Audacity includes advanced built-in effects, such as an equalizer, compressor, reverb, and more. Moreover, the tool includes noise reduction, which helps you remove background noise for cleaner recordings. However, the tool is for pro users only, as it has a steep learning curve that takes time to understand if you’re not familiar with audio tools. Also, it has an outdated interface that can feel confusing, especially for beginners new to audio editing. See the guide below.
Step 1 Install the Free Audio Recorder for PC
First, get Audacity from the official website and install it on your computer. Once installed, the tool will automatically open on your screen. Take a moment to get familiar with its layout and features.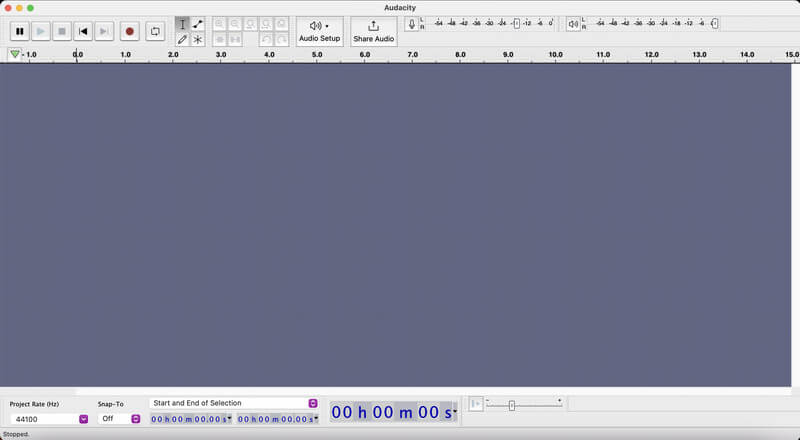
Step 2 Choose Your Audio Source
In the Audio Setup tab, start choosing your preferred settings. You can modify the Host, Playback Device, Recording Device, Recording Channels, and the Audio Settings. After that, adjust the input volume so your recording isn’t too loud or too quiet.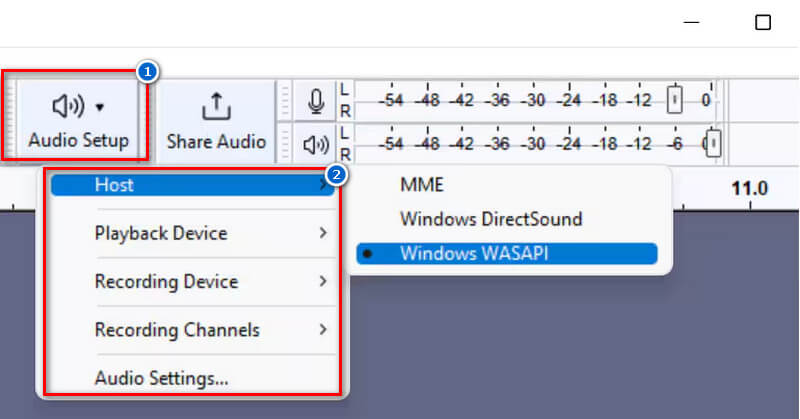
Step 3 Start and Stop Recording
Once everything is set, click the recording button on the computer, then select the sound you want to capture. When finished, click the square stop button to end the recording. Finally, review, edit, and export your recorded audio in your preferred format.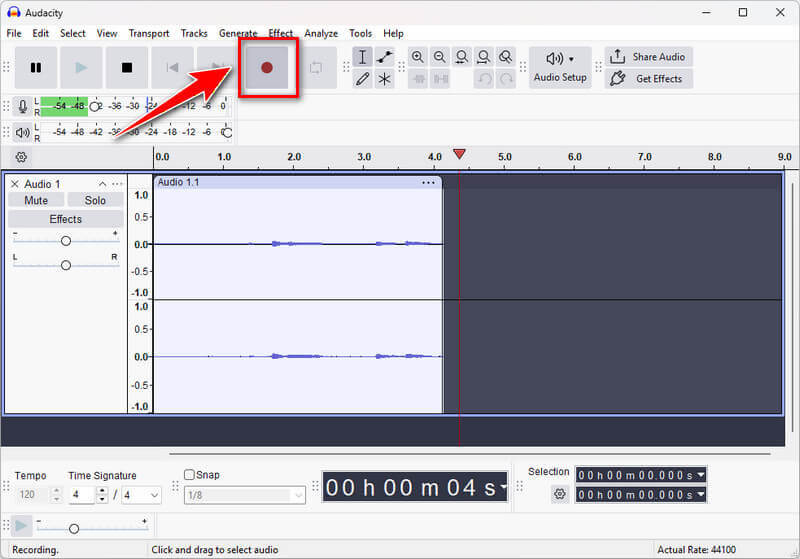
Method 4. Record Audio on Computer Using Aqua Demo
Aqua Demo is known for its screen recording available on Windows and Mac. But aside from the screen recording, this tool also offers various recording tools, including the audio recorder. Like other audio recorders, Aqua Demo can capture both system sound and microphone. You can choose an audio source from system sound (e.g., your speaker) or from your microphone (e.g., an external mic). In addition, the tool lets you adjust the volume to your preferences, helping avoid unclear or confusing audio recordings. Furthermore, this computer audio recorder features noise reduction and microphone enhancement. This is helpful for voice narration, producing clear, professional-sounding audio without background noise. However, the tool is not entirely free, so you can only use some features for a limited time, like unlimited recording. Still, it is a reliable, easy-to-use tool for audio recording. See the guide below on how to use Aqua Demo.
Step 1 Open Aqua Demo Tool
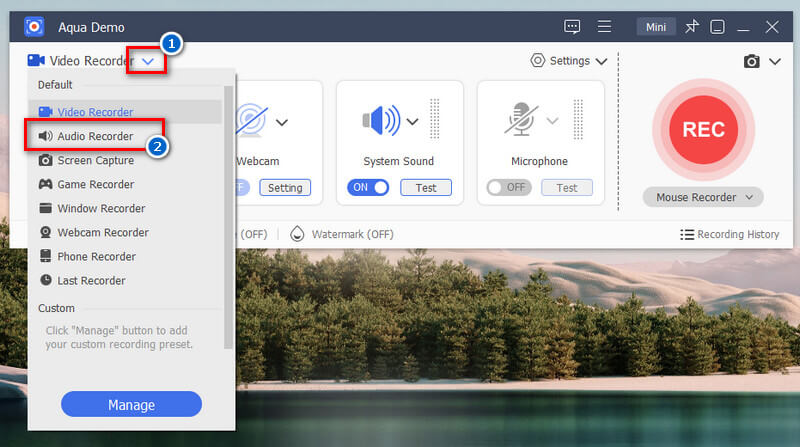
Start by downloading the Aqua Demo installer from its official website or using the download buttons below. Then proceed with the installation, and it will open automatically afterward. On its main interface, click the dropdown icon next to Video Recorder and select Audio Recorder.Try it for Free
Step 2 Set Audio Settings
Next, click the settings menu, then go to Record settings. From the pop-up screen, navigate to the Sound tab and click Sound Settings. In another menu pop-up, start selecting your audio sources for the system audio and microphone. You can adjust the volume and enable both noise reduction and enhancement if needed.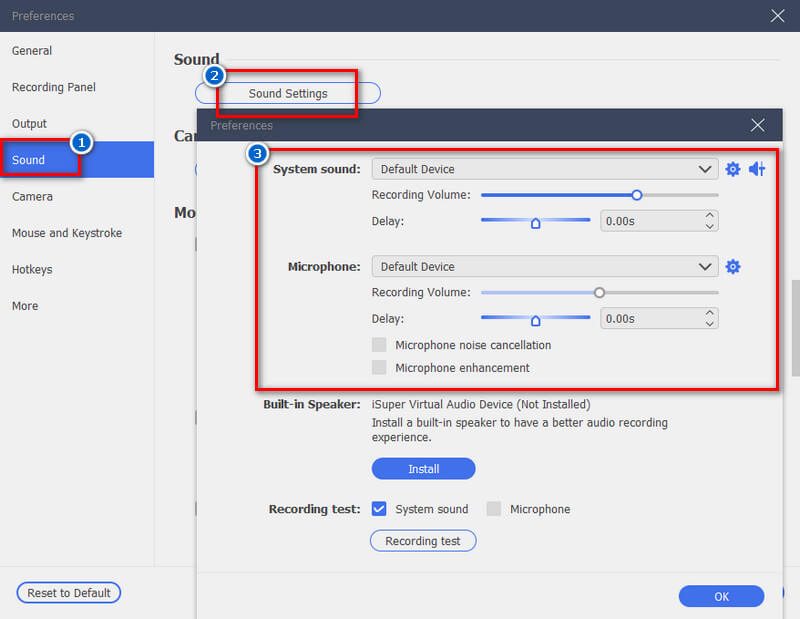
Step 3 Start Recording
Once all set, click the big red REC button to start recording. You can now start playing the sound you want to record or start speaking on your microphone. While recording, you can also adjust the volume to ensure the audio is balanced.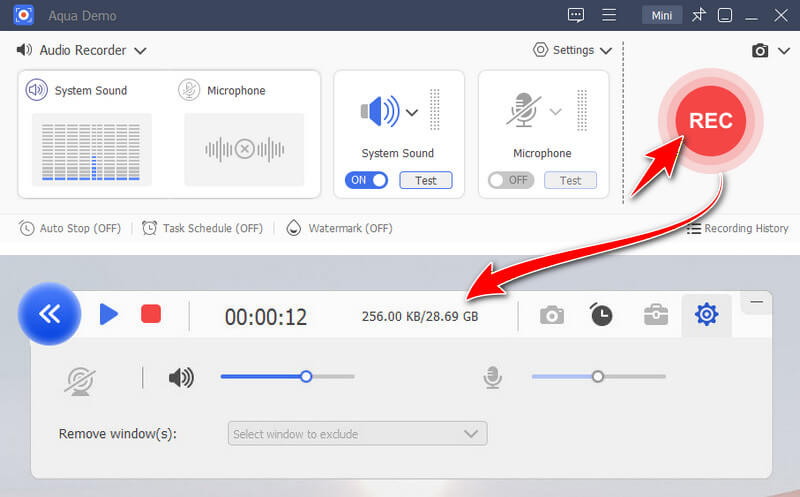
Step 4 Playback the Recorded Audio
Once finished, click the red box button on the toolbar to end the recording. Then, a new pop-up box will appear where you can play the recorded audio. When you’re satisfied, click the folder icon below to select the destination folder, since the tool automatically saves recordings there.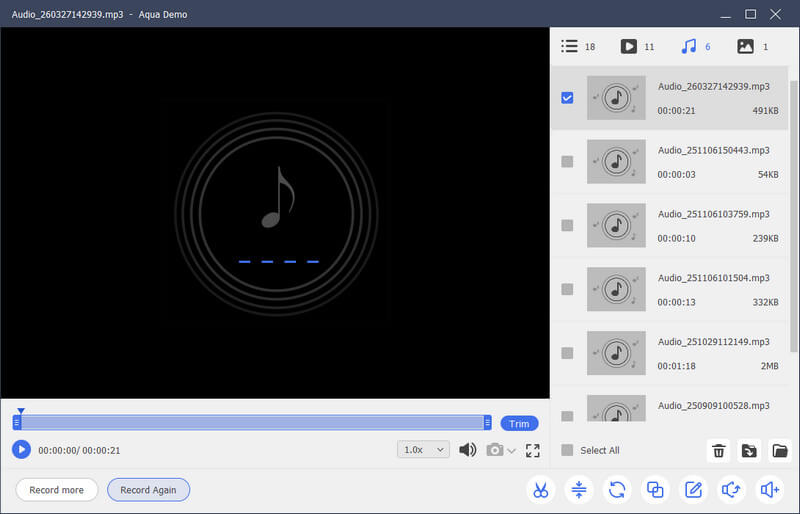
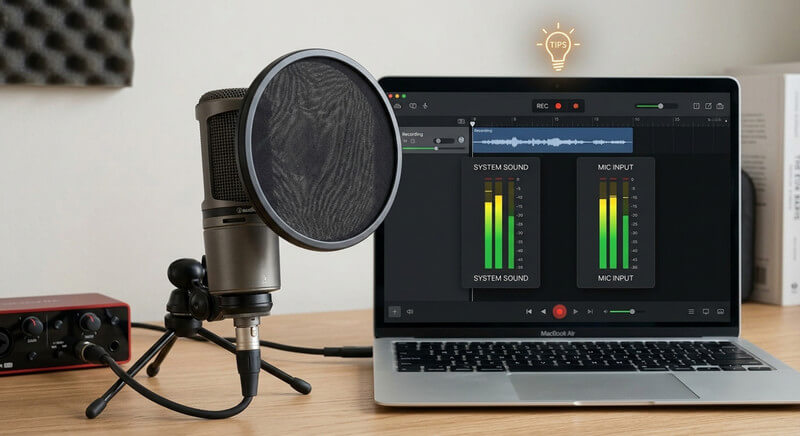
Tips: How to Get Better Audio When Recording?
If you want to capture audio from computer clearly, a few simple tips can make a big difference, especially when you record audio for YouTube . These guidelines will help you improve both the microphone and system sound quality. Follow them to get cleaner, more balanced recordings every time.
Recording Microphone Audio
- Choose a good microphone. An external USB mic or headset usually gives you clearer sound than the one built into your computer.
- Keep the right distance from your mic. Try to stay about 6 to 12 inches away to avoid distortion or low volume.
- Record in a quiet place. Turn off fans, close doors, and cut down on background noise as much as you can.
- Use a pop filter or a cover on your mic. This helps soften strong “p” and “b” sounds when you talk.
- Wear headphones while you record. This lets you catch noise, echo, or volume problems right away.
- Speak clearly and steadily. Avoid sudden loud or soft changes to keep audio consistent.
System Sound Recording
- Enable system audio recording. Make sure your recorder is set to capture “system sound” or “desktop audio.”
- Adjust your volume levels. Keep your system volume balanced and not too loud to avoid distortion.
- Close unnecessary apps. Notifications and background apps can create unwanted sounds.
- Use high-quality audio sources. Play videos or music in the best quality you can for better recordings.
- Test before recording. Play a short clip and record it to check if the audio is captured correctly.
- Avoid audio conflicts. Don’t run multiple apps using audio at the same time to prevent glitches.
Recording Both Together
- Balance the mic and system sound. Make sure your voice is clear and not drowned out by system audio. Adjust each level separately for a clean mix.
- Add a slight system sound reduction. Lower system audio during speaking parts, especially for tutorials or voiceovers.
- Sync timing properly. If you notice a delay between the mic and system sound, adjust the audio sync settings in your recording tool.
Conclusion
Recording audio on your computer is now easier than ever, thanks to many handy tools. On a Mac, QuickTime Player is built in and ideal for quick voiceovers or narrations. AceThinker Free Online Audio Recorder runs in your browser and records system sound, microphone audio, or both, making it useful for streaming audio, podcasts, and other online content. On the other hand, Audacity is a powerful PC audio recording software with advanced features, making it suitable for professional projects. For beginners, Aqua Demo is simple to use and improves audio with noise reduction and microphone enhancement. With this in mind, select a tool that matches your skill level, purpose, and budget, whether you need basic recording, professional editing, or online capture.
| Tools | Audio Quality | Output Audio Formats Supported | Ease of Use |
|---|---|---|---|
| QuickTime Player | Good quality | M4A | Easy |
| AceThinker Free Online Audio Recorder | Good quality | MP3 | Very Easy |
| Audacity | High quality | WAV, FLAC, MP3, WMA, and more | Difficult |
| Aqua Demo | Customizable (low-high quality) | MP3, FLAC, WAV, OGG, AAC, and more | Easy |