


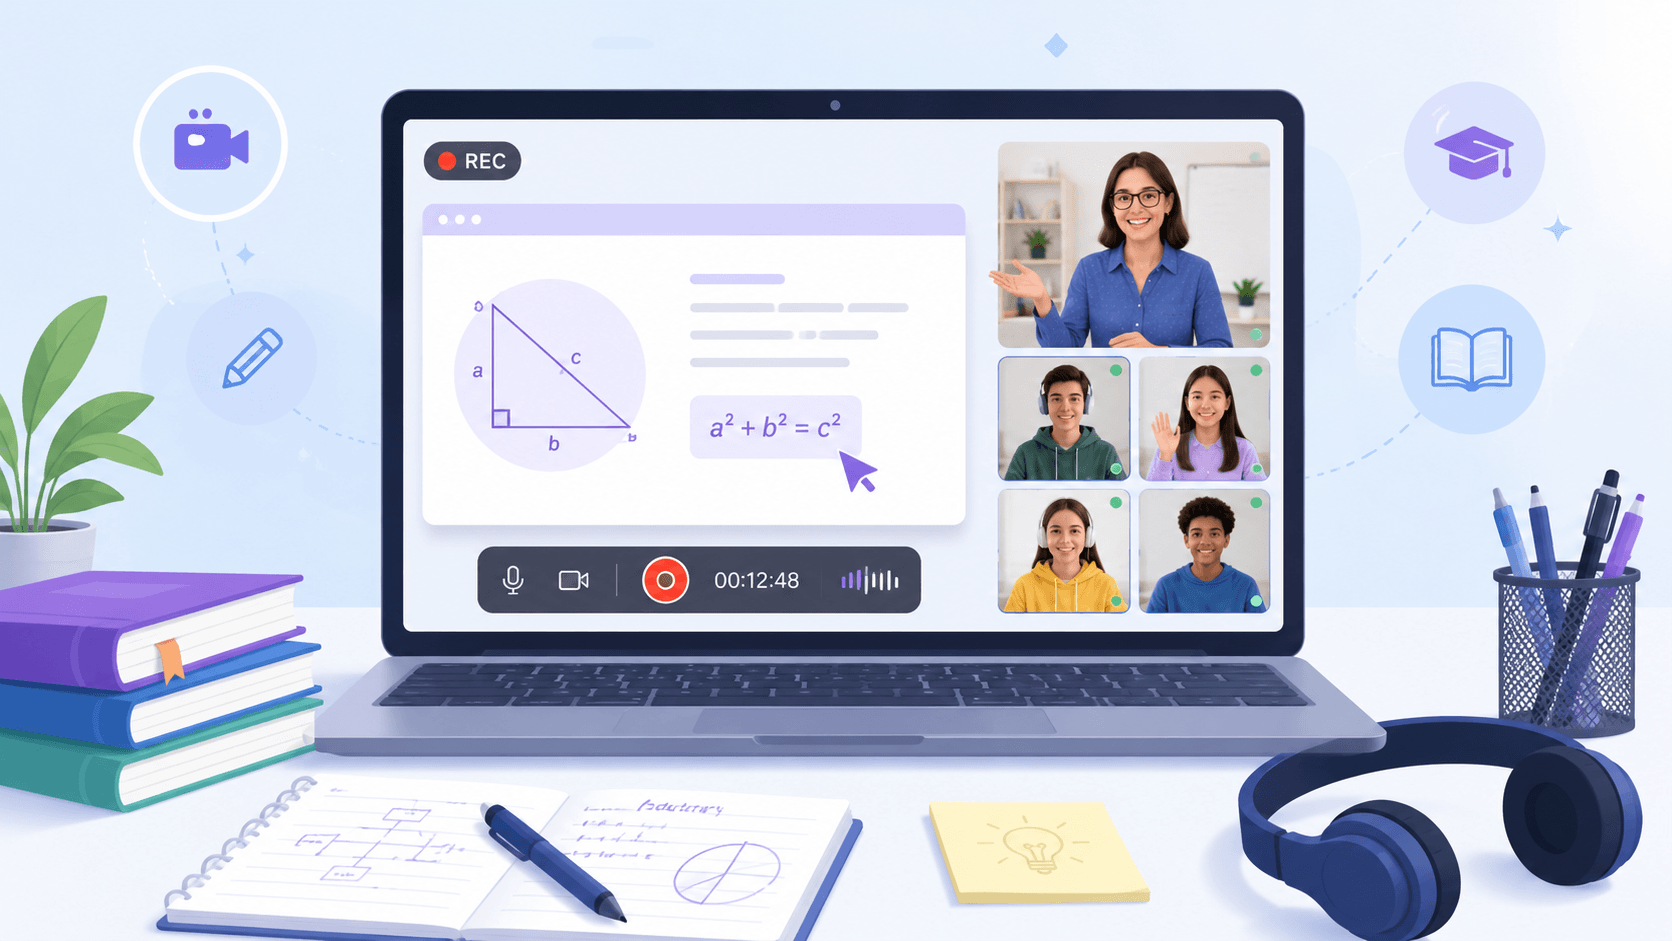
Screen Recorder for Education : For Teachers and Students
The tool helps you record lessons, explain ideas clearly, and save videos for later. It is easy to use and works well for both students and teachers.


Why Educators Choose This Screen Recorder
Shows how features work in real teaching and learning situations like classes, tutorials, and student reviews.
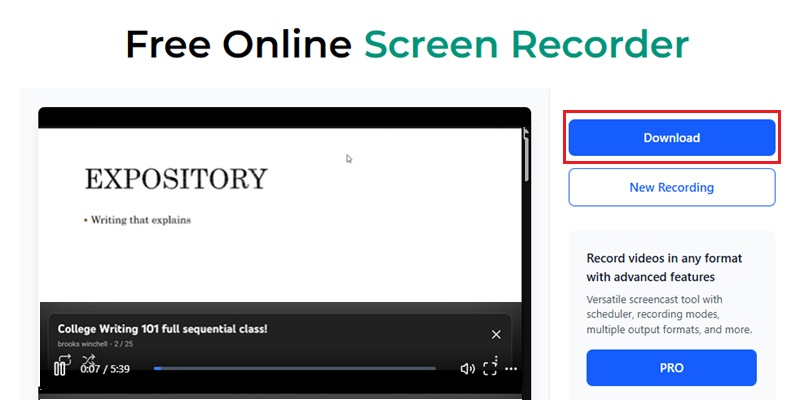
How to Record Lessons and Educational Videos
Follow simple steps to record lessons, capture screens, and save educational videos for later learning and review.
-
1
Initialize the Lesson Recording Workspace
Open the screen recorder to prepare lectures, lessons, or study sessions for capture. This keeps your teaching materials ready before recording begins.
-
2
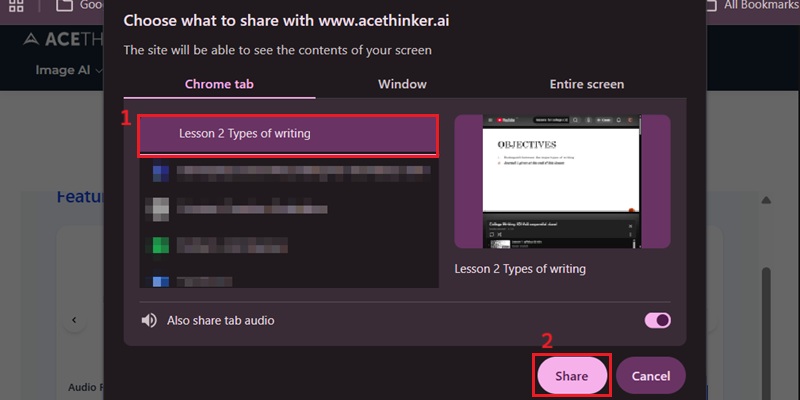
Configure Audio and Lesson Capture Inputs for Recording
Enable the microphone and system audio first, then select the class window and activate screen capture and webcam as needed. This keeps lesson visuals and audio properly synchronized during recording.
-
3
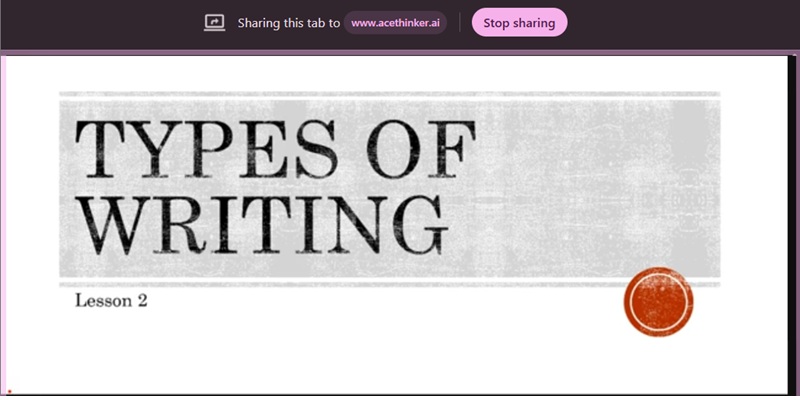
Capture Lessons with Synchronized Playback
Start recording to capture online classes, lesson walkthroughs, or study explanations in real time. This keeps visuals and narration aligned for easier replay and review.
-
4
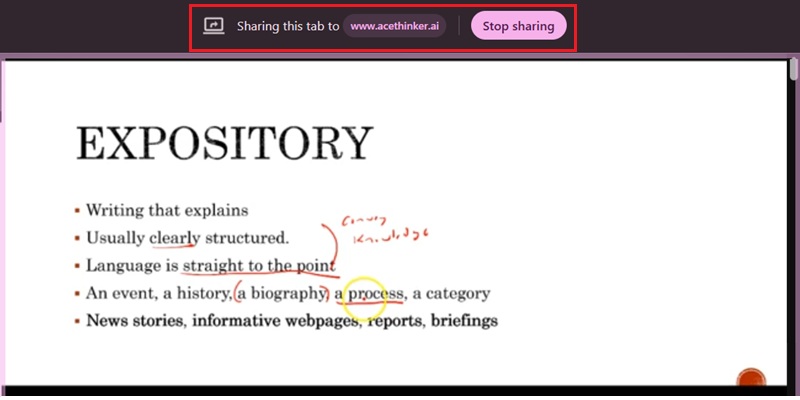
Validate Playback and Save Review-Ready Lessons
Preview the recording to confirm lesson clarity, audio accuracy, and complete capture. Once finalized, save the video in a review-ready format so students can replay lessons at any time.
Popular Ways to Use This Recorder For Education
It helps teachers and students record lessons, tutorials, and explanations for easier learning and later review.
Record Online Lessons and Course Videos
Capture full lectures or short lessons in high quality. Use the trimmer feature to trim pauses or mistakes before sharing with students.
Create Step-by-Step Tutorials for Students
Record walkthroughs, problem-solving sessions, and guided lessons. Keep your explanations clear with voice narration and structured visuals.
Capture Presentations and Class Materials
Record slides, reports, and teaching materials for reuse. Share your polished recordings with students for review at any time.
Provide Video Feedback and Explanations
Record personalized feedback, answers, or clarifications for students. Deliver clear guidance through short, easy-to-understand videos.
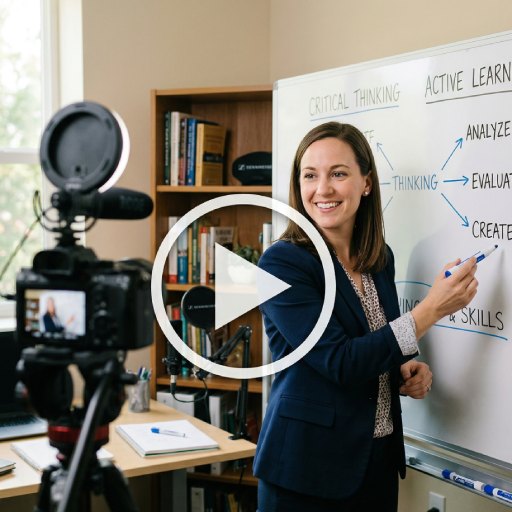
Classroom-Ready Recording: Crystal-Clear Video & Noise-Free Audio
Record Educational Content Without Quality Loss
AceThinker Screen Recorder for Education preserves every detail with Full HD capture and AI-powered audio optimization. Our visual playback proof demonstrates that text, presentation slides, diagrams, and instructor voice remain sharp and synchronized—even during extended online classes or lecture recordings. Educators can confidently record virtual lessons, tutorials, demonstrations, and student feedback videos with smooth frame delivery and stable audio quality.
Recording Metrics
We optimize every recording for modern digital learning environments. Each session is processed with stable frame rendering and enhanced voice clarity to deliver distraction-free educational content for students across any device.
Comparison Chart
| Feature | Basic Recording Tools | Pro Screen Recorder | Loom |
|---|---|---|---|
| Ease of Use | Moderate learning curve | Beginner-friendly and easy to use | Simple browser-based recording experience |
| Recording Purpose | General screen recording | Designed for teaching, learning, and training | Online screen capture and video sharing |
| Content Clarity | Standard video quality | Optimized for clear lessons and explanations | Clear video output for everyday use |
| Accessibility | Limited sharing options | Easy access and sharing for students | Share recordings through online links |
| Best For | Casual or personal use | Education, e-learning, and online training | General online recording needs |
| Start Recording | Get Pro Version | Learn More |
Other Solutions You May Like
Start Recording Lessons Online in Your Browser
Record classes directly in your browser with no installation needed, making it easy for students and teachers to capture and share lessons anytime.
Frequently Asked Questions
How do I record an online lesson with both screen and voice narration?expand_more
Should I record the full screen, a browser tab, or only the presentation window for teaching?expand_more
Can I record webcam and screen together for a more personal teaching video?expand_more
What should I test before recording a long lecture or tutorial?expand_more
What should I do after recording if the lesson has silent gaps or unwanted opening sections?expand_more
Start Recording Lessons Online Easily
Create, save, and share educational videos, lectures, and tutorials using a simple screen recorder designed for teaching and learning.