


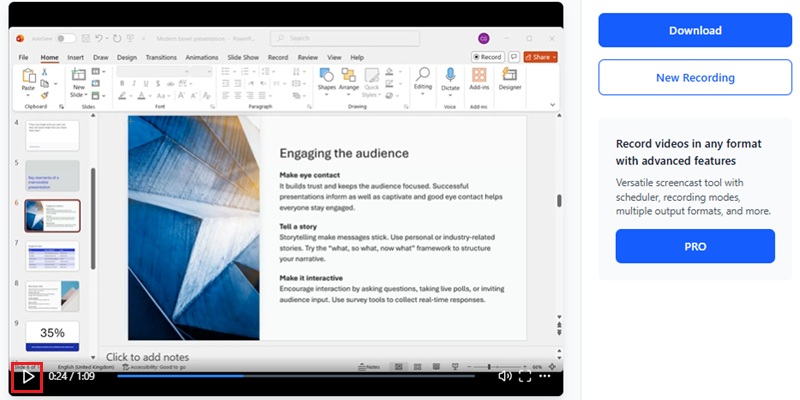
Screen Recorder for Content Creators for Daily Content Needs
Try the screen recorder online in your browser with no installation needed, or use the Pro app for more features. Perfect for creators and YouTube videos, with clear, smooth recording.


Popular Ways To Use This Screen Recorder for Content
Record, create, and share content faster with a screen recorder built for everyday content creation.
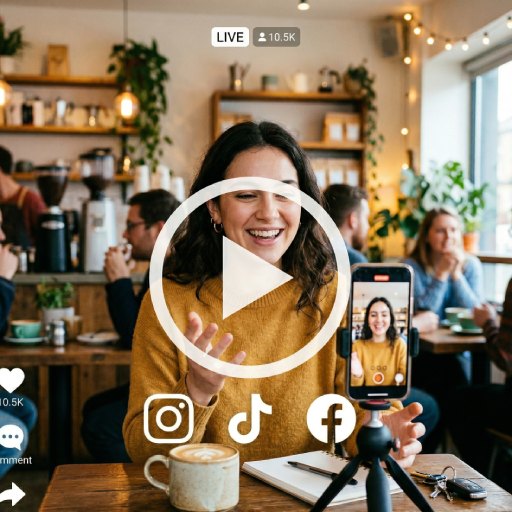
How to Record Content for YouTube and Social Media
Follow these simple steps to record, save, and share your content quickly.
-
1
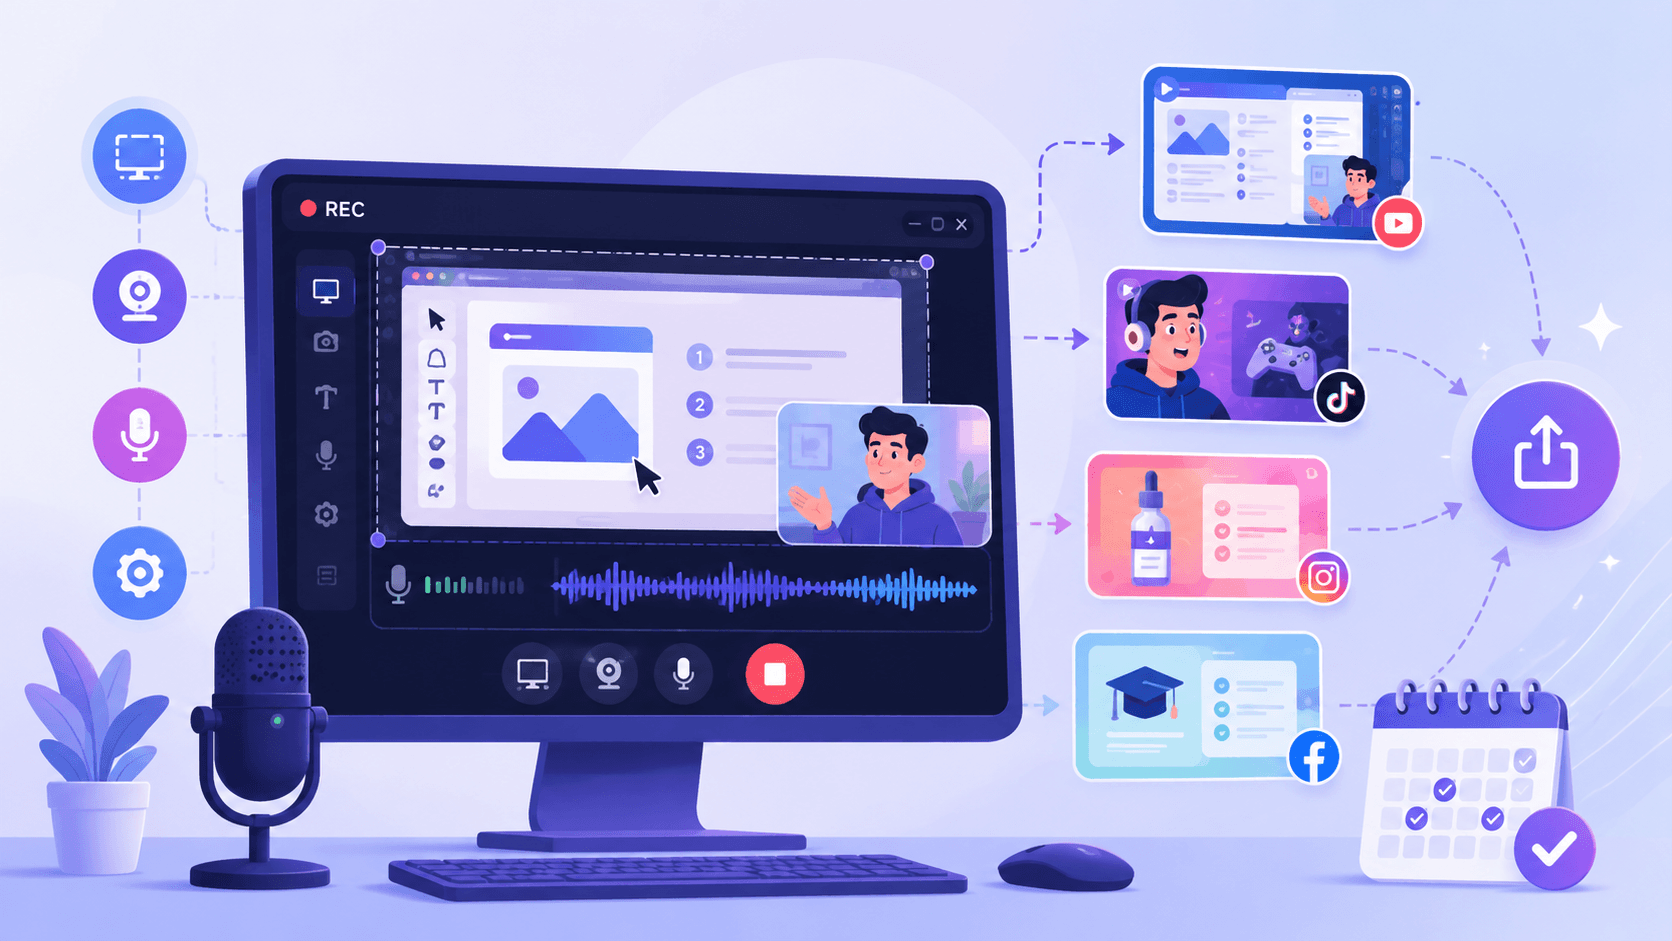
Configure a Creator Capture Mode for Your Recording Workflow
Open the screen recorder and select a capture mode from the recording panel based on your content format, such as tutorials, gameplay, product demos, or short-form social clips. This configures the recording canvas for the right creator workflow before capture begins.
-
2
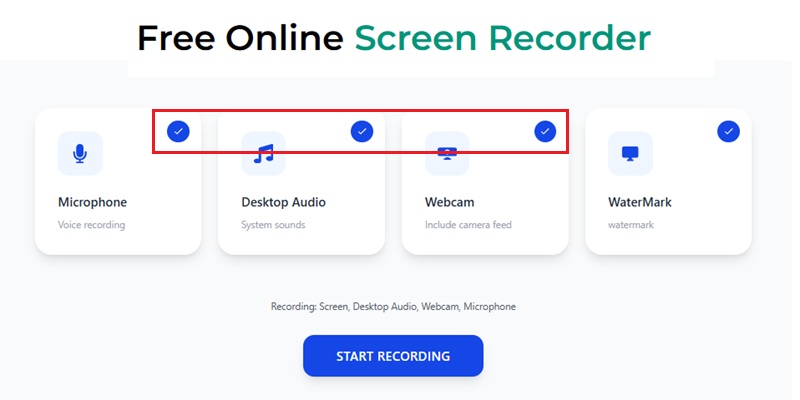
Turn On Screen, Mic, and Webcam
Enable display capture, microphone input, and webcam overlay from the source controls to build a synchronized recording pipeline. This ensures your screen activity, live commentary, and face-cam footage stay aligned in a single capture session.
-
3
Capture Creator Footage
Start the recording session to capture platform-ready content with synchronized visuals, voice, and motion in real time. This keeps tutorials, gameplay footage, software demos, and social content cleanly recorded in a single creator timeline.
-
4
Validate Playback and Export Share-Ready Content
Review your footage in the preview window to verify pacing, audio sync, and visual clarity before export. Once finalized, export your recording in a share-ready format to optimize fast uploads across YouTube, TikTok, Instagram, and other creator platforms.
Why Use This Screen Recorder For Content
Record tutorials, demos, gameplay, and social content with a screen recorder built for content creation.
Record Sharp HD and 4K Videos
Capture tutorials, demos, and creator content in clear high-resolution quality. Keep every upload polished and ready for modern platforms.
Start Instantly with No Installation
Open the recorder in your browser and begin creating in seconds. No downloads or setup delays to slow your workflow.
Record Screen, Voice, and Webcam Together
Capture visuals, commentary, and face cam in a single smooth session. Create tutorials, reactions, and presentations without syncing separate files.
Export Fast and Share Anywhere
Save recordings quickly in creator-ready formats with no extra hassle. Upload to YouTube, TikTok, Instagram, and other platforms right away.
Creator-Grade Capture: 4K UHD Recording with Stable 60 FPS Encoding
Record Creative Workflows Without Frame Drops
AceThinker uses a Hardware-Accelerated H.265 Encoding Engine to maintain smooth 60 FPS rendering during editing, animation, and live creative production. Our zoomed visual verification confirms that timeline details, color gradients, and layered interface elements remain sharp during high-motion creative sessions. This preserves production-level clarity for tutorials, demos, and publishing workflows.
Technical Metrics
We validate recording performance using frame-stability analysis and hardware-level capture metadata. Every recording session is optimized for professional content production with low-latency encoding and synchronized audiovisual output.
Comparison Chart
| Feature | Online Recorder | Desktop Recorder | ScreenPal |
|---|---|---|---|
| Setup | No installation needed | Requires installation | Browser-based access with optional sign-in |
| Convenience | Start recording instantly in your browser | Setup required before recording | Quick online capture |
| Workflow Flexibility | Best for fast recording and quick sharing | Better for longer projects and advanced workflows | Suitable for simple recordings and short edits |
| Recording Quality | Reliable quality for quick content | HD / 4K recording for polished videos | Standard quality for everyday content creation |
| Best For | Quick tutorials, short demos, and social content | Professional tutorials, branded videos, and full content production | General online recording needs |
| Start Recording | Get Pro Version | Learn More |
Other Solutions You May Like
Start Recording Your Content Easily
Create high-quality content using this screen recorder. Perfect for tutorials, gameplay, and social media videos with smooth performance.
Frequently Asked Questions
How do I record the screen, webcam, and microphone for creator content?expand_more
Why is my voice commentary missing or out of sync in the recording?expand_more
Should I record the full screen, an app window, or a browser tab for tutorials?expand_more
What should I test before recording a long tutorial or reaction video?expand_more
What follow-up tools should I use after recording to cut, convert, or improve the content?expand_more
Start Recording Your Content Easily
Create tutorials, demos, and social media videos instantly with a simple online screen recorder.